Pruning and mounting lime trees
Pleached lime trees are very popular for screening gardens and properties or as a natural sunshade. Pleached fruit trees are also increasingly being used for this purpose, combining a practical function with a regular fruit harvest.
Installation advice:
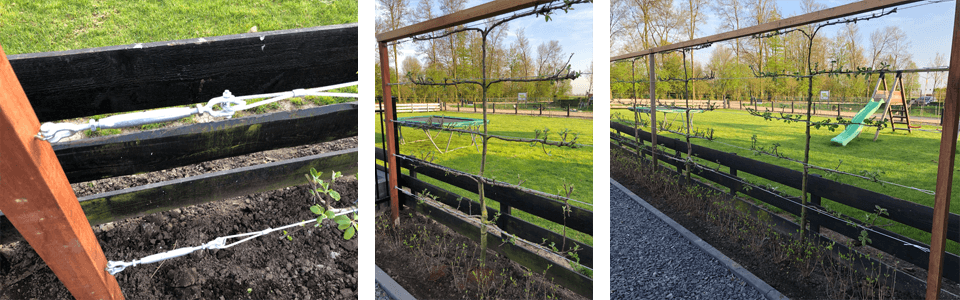
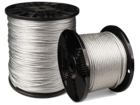
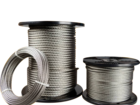
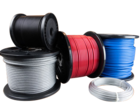
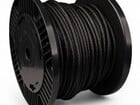
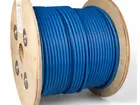
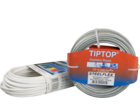
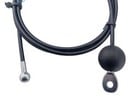
Once your pleached lime tree has been planted, it is time to install and tension the wire ropes. The recommended wire rope diameter is 4 mm. Galvanised wire rope offers sufficient corrosion resistance and is most commonly used for training pleached lime trees.
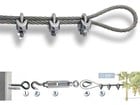
Standard Parts List for Supporting Pleached Lime Trees:
Installing Wire Rope in Wood
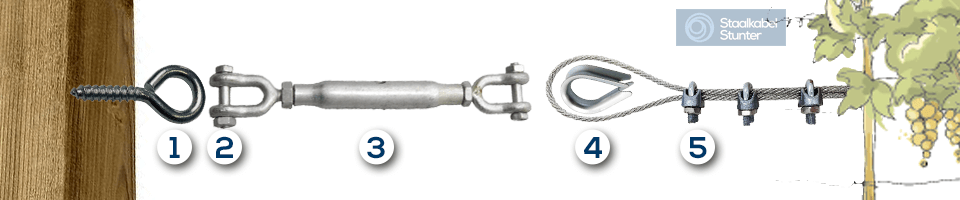
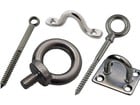
- Use screw eyes with a minimum diameter of 5 mm. Pre-drill the holes using a drill bit slightly smaller than the screw-eye thread. This helps prevent the wood from splitting.
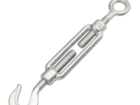
- The turnbuckle is fitted with a removable pin. Remove the pin, connect the turnbuckle to the screw eye and refit the pin.
- The body of the turnbuckle has a hole into which you can insert a screwdriver or awl. Rotate the body to draw in the threaded ends and tension the wire rope.
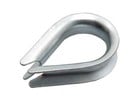
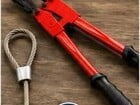
- Fit a thimble inside the wire rope loop to distribute the load correctly and prevent the wire rope from kinking.
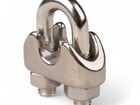
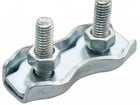
- Tighten the wire rope clips using a spanner. Fit the saddle on the live, load-bearing part of the wire rope and the U-bolt around the short, dead end.
Installing Wire Rope in Concrete
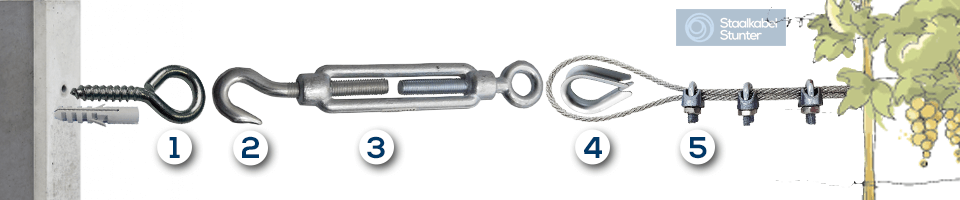
- When installing the system in concrete, the main difference is that a suitable wall plug or concrete anchor must be used.
- Insert the turnbuckle hook into the eye. Position the eye horizontally and make sure the open side of the hook faces downwards.
- Rotate the body of the turnbuckle to tension the wire rope. You can use an open-ended spanner, adjustable spanner or locking pliers.
- Position the thimble in the eye and form a loop with the wire rope.
- Tighten the wire rope clips using a spanner. Fit the saddle on the live, load-bearing part of the wire rope and the U-bolt around the short, dead end.
Installing Wire Rope in Iron or Steel
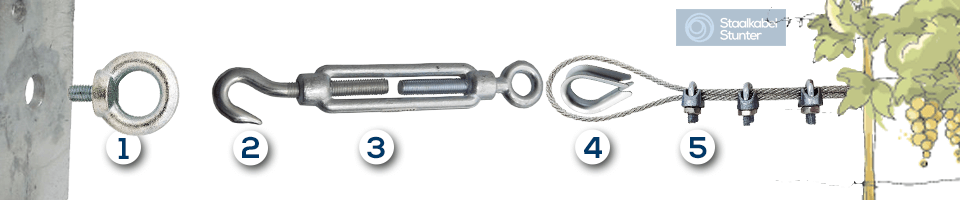
- Depending on the eye fitting you intend to use, tap an M6 or M8 thread into the metal profile and screw in the eye fitting.
- Position the eye horizontally and hook the turnbuckle into it.
- Rotate the body of the turnbuckle to tension the wire rope. You can use an open-ended spanner, adjustable spanner or locking pliers.
- Position the thimble in the eye and form a loop with the wire rope.
- Tighten the wire rope clips using a spanner. Fit the saddle on the live, load-bearing part of the wire rope and the U-bolt around the short, dead end.
Installing a Stainless-Steel Wire Rope System

- Pre-drill the holes using a 3 mm drill bit and screw in the screw eyes.
- Unscrew the turnbuckle to its maximum working length.
- Form a loop in the wire rope.
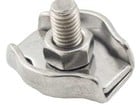
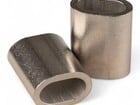
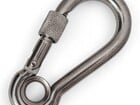
- Fit the stainless-steel wire rope clip and tighten both nuts evenly.
- Rotate the body of the turnbuckle to tension the wire rope.
A complete kit is available for this installation: Go to >> Stainless-Steel Pleached Lime Tree Support Kit
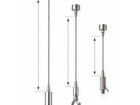
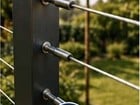
Installing Stainless-Steel Wire Rope with an Architectural Tensioner
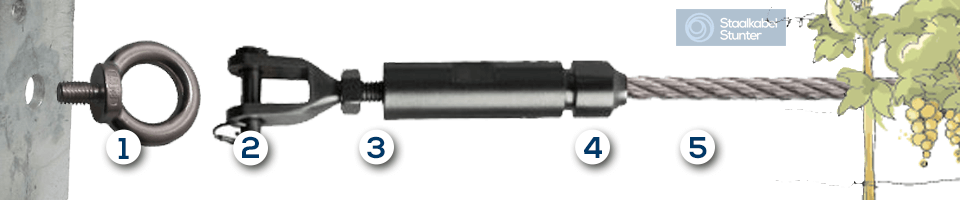
- Depending on the eye fitting you intend to use, tap an M6 or M8 thread into the metal profile and screw in the eye fitting.
- Remove the retaining clip from the clevis and attach the clevis to the eye fitting.
- Tighten the long tensioner body using a spanner to tension the wire rope. Cut the wire rope to the required length as accurately as possible.
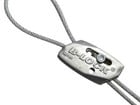
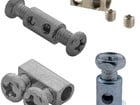
- The terminal end contains two small internal components that must be fitted onto the wire rope. The terminal can then be screwed together, clamping the wire rope securely.
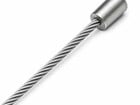
- Use stainless-steel wire rope with a 7 × 7 construction. The fibre core in the galvanised wire rope used for this application cannot be secured correctly inside this type of self-assembly terminal.
Additional Practical Tips
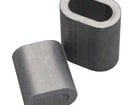
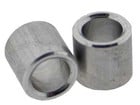
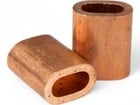
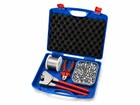
- If you are installing supports for a large number of trees, consider using aluminium ferrules. They are much faster to install, but require suitable wire rope crimping pliers.
- All the galvanised steel components shown in the examples above are also available in stainless steel. Stainless steel is more expensive but generally offers a much longer service life.